You want Adobe-level results without the subscription
You open your editor, spot the “free trial,” and realize the real cost isn’t money—it’s getting locked into a monthly bill once your channel or client work depends on the project files. A lot of creators try to dodge that by grabbing random free apps, then lose weeks to crashes, missing codecs, or tools that can’t do basics like clean masks, color matching, or decent export presets.
Open-source can absolutely get you to professional results, but only if you pick based on what you actually publish and how often you edit. The constraint is time: a “free” tool that takes three extra hours per video is still expensive. The goal here is choosing one photo tool and one video tool you can rely on, then learning them just deep enough to ship.
What are you actually shipping: photos, reels, or YouTube?
You sit down to edit and the question sounds simple: “What am I making today?” The answer changes which “free” tools stay practical after the first week. If you mostly ship photos (product shots, portraits, Etsy listings), you need fast fixes, solid color, and clean retouching—GIMP and darktable cover most of that, but you’ll spend time on setup and color-managed workflows. If you ship reels or TikToks, speed matters more than perfect knobs: Kdenlive is quick to learn for cuts, captions, and vertical exports, though you may hit performance limits on long effects-heavy projects.
YouTube usually asks for the most from your editor: longer timelines, audio cleanup, consistent color, and reliable exports. Shotcut or Kdenlive can work, but plan for proxy media and some trial-and-error with codecs on your machine. Pick the format you publish weekly, then choose the tool that makes that path boring and repeatable.
If your edits start with a camera roll, choose first
You dump clips from your phone into an editor and everything feels fine—until you need the same look across ten shots taken in different light. If your work starts as a camera roll, choose the tool that handles intake and correction first, because it sets up every cut, thumbnail, and export downstream.
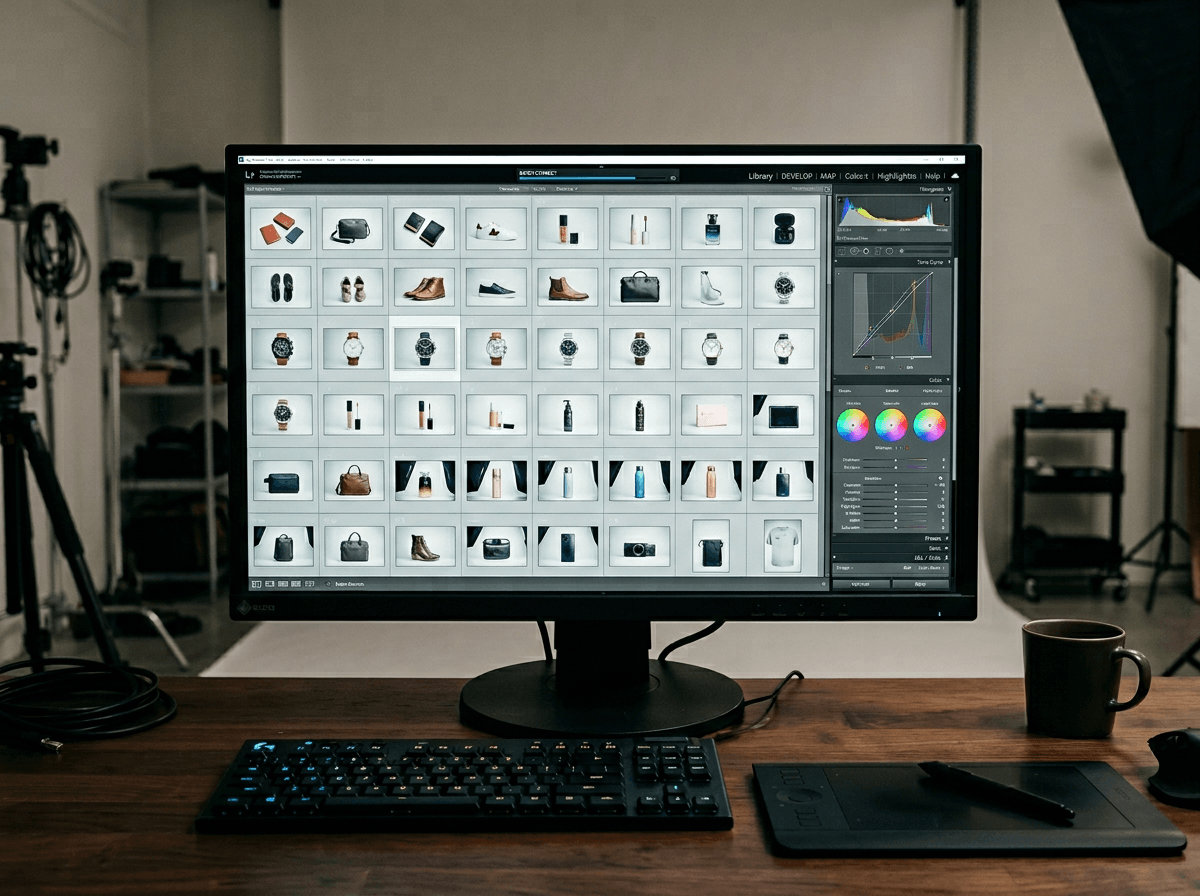
For photos and short clips, darktable is the practical starting point when you need exposure, white balance, highlights/shadows, and batch edits. That “batch” part matters when you shoot 40 product photos and don’t want to repeat the same fixes. If you’re on Android and you can shoot RAW (or you use a mirrorless too), darktable’s pipeline-style edits stay consistent. The downside is setup: it’s easy to lose an hour to color management, and it won’t feel like a simple “filters” app.
If most of your camera-roll work is screenshots, simple composites, or quick cleanup, start with GIMP instead. It’s faster for pixels and text, but it won’t replace a real photo developer when lighting varies shot to shot.
Thumbnails and clean branding get messy fast—vector or raster?
You make a thumbnail, save a copy, then need the same layout for next week’s video—different title, different face, same brand. If your design is mostly shapes, icons, and consistent text placement, go vector. Inkscape lets you resize without blur and reuse parts like a template, so “Episode 12” doesn’t become a re-build. It also plays nicer with logos and simple brand kits.
If your thumbnail relies on photos, cutouts, and heavy glow/shadow work, stay raster. GIMP handles pixels, layer masks, and quick composites better, especially when you’re pushing contrast and sharpening for small-screen punch.
The real snag is mixing them: you’ll often build in Inkscape, then export to PNG and finish in GIMP. That handoff costs time, and text can shift if you don’t manage fonts consistently—something you’ll feel when you’re rushing to publish.
Your first timeline: speed, stability, or deeper control?
You drop a few clips on a timeline, trim the dead air, add music, and export—then the real test shows up: a 20-minute video with B-roll, captions, and color tweaks that has to render the same way every time. That’s where “free” editors split into three lanes: the one you can learn in a weekend, the one that crashes least on your hardware, and the one that gives you the most control when your edits get picky.
If you need speed for short-form, Kdenlive is often the fastest to become productive with cuts, basic titles, and vertical exports. If your priority is stability and predictable exports for YouTube, Shotcut can feel less fussy, especially on modest laptops. If you want deeper control—stronger color tools, better audio routing, and room to grow—DaVinci Resolve is the common answer, but it’s not open-source and it can be heavy on GPUs and storage.
Whichever you pick, plan on proxy media and a “known good” export preset before you’re racing a deadline.
When you need motion graphics, Blender is the jump
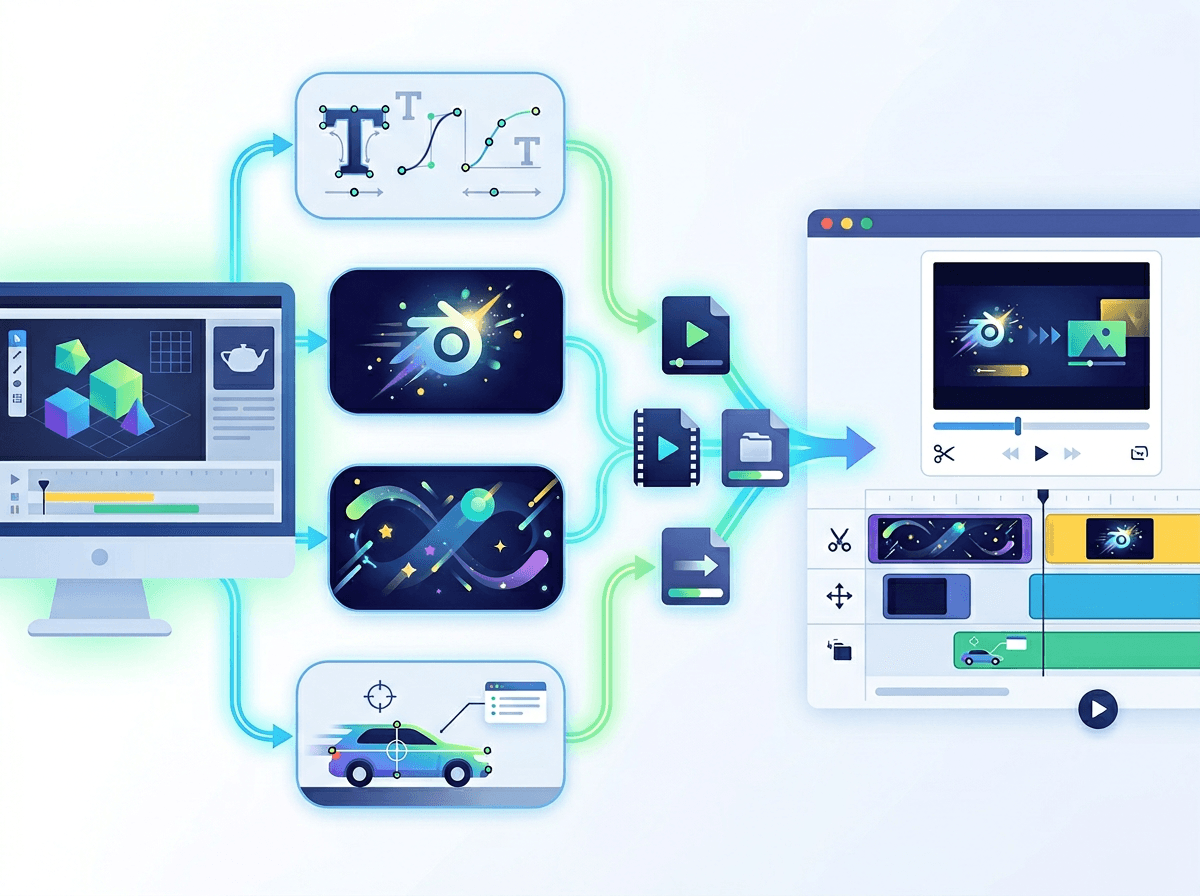
You add a simple lower-third, then decide it should slide in, blur slightly, and match your brand colors. In most free video editors, that turns into keyframe wrestling, or you hit a ceiling when you want clean tracking, 3D text, or anything that looks “designed” instead of “added.” That’s the moment Blender stops being “for 3D people” and becomes a practical motion-graphics tool.
Blender’s strength is building reusable pieces: title rigs, logo stings, animated backgrounds, and tracked callouts you can drop into Kdenlive or Shotcut as finished clips. If you’re making YouTube intros, product promos, or UI-style overlays, it pays off fast once you template your scene. The cost is real, though. Expect a steep learning curve, a lot of hotkeys, and longer render times—especially on older laptops.
Once you know you need repeatable motion assets, the question becomes which two tools you’ll run every week.
Pick your two tools and a repeatable weekly workflow
Most creators bounce between five apps and end up finishing everything at 1 a.m. because nothing is set up the same way twice. Pick one “source” tool and one “finish” tool, then stop shopping. A solid budget stack is darktable + Kdenlive if you shoot a lot, or GIMP + Shotcut if you live in thumbnails and simple cuts. Add Blender only when motion becomes a weekly need.
Weekly loop: ingest → name folders → apply one saved look (or thumbnail template) → edit with proxies → export from a saved preset → archive the project and assets. The annoyance you’ll hit is file sprawl: without strict folders and templates, open-source workflows get slow fast.